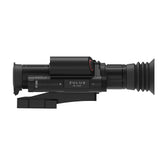
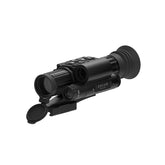
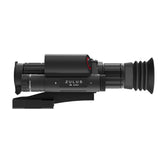
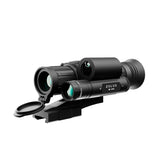
ARKEN ZULUS CONTROLS
Controlling Your ZULUS

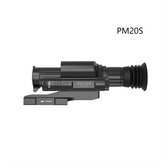
The ZULUS 5-20x has five buttons. The bottom one closest to the eyepiece is the power button. Press and hold it down to turn on the ZULUS. Once turned on. You can press the power button quickly to put the ZULUS in standby mode. Press it again to wake up the ZULUS. Pressing and holding down the power button, while the ZULUS is on, will turn off the ZULUS. Just behind the power button is a small wheel. This is for changing digital zoom. Spin it clockwise to increase magnification. Spin it counter-clockwise to reduce magnification.
Just above the Power Button are four buttons arranged like a directional pad. Up, down, left and right. The Up button is for recording videos. Press the button to enable recoil activated video recording. Long press to manually start and stop recordings.
The left button is for switching the ZULUS into IR or Day mode. Long press the button to switch modes. You will hear an audible clicking noise. When the ZULUS switches to IR mode the image will be black and white. If you see a color image, then you are in Day mode. Once you are in IR mode, pressing the left button will activate the on board infrared (IR) illuminator. Every time you switch to IR mode, the illuminator will be off. There are five brightness levels for the IR illuminator as well as an IR Auto mode which will adjust the IR illuminator brightness for you. Once in IR Auto mode, pressing the left button will turn the IR illuminator off.

The right button controls screen brightness. Pressing it quickly will cycle through five brightness levels. Long pressing the right button will turn Wi-Fi on and off. Wi-Fi connectivity is for connecting to the Arken Optics app.
The down button is the settings button. It also changes the color of the reticle on the screen. You can choose five different colors. Green, red, yellow, black or white. Pressing the settings button quickly will cycle through the different colors. Pressing and holding down the settings button will

Once you are in the settings menu you navigate the menu options with the IR Mode button to move left and the brightness/Wi-Fi button to move right. Pressing the video recording button chooses the option you have highlighted. Pressing the settings button will exit you out of the option you are in. If you at the main settings menu, pressing the settings button will exit the menu.

When you select the menu option you want to adjust, press the video recording button to enter that option. Pressing the left or right buttons will allow you move up or down to select the options. Pressing the up/video recording button will select that option and go back to the main settings menu.
The menu options are rather straight forward. In the next news letter we will go into more detail on how to zero the reticle for the ZULUS. Then we will explain how the ballistic calculation and apps work in conjunction with the ZULUS. Stay tuned for more tips and tricks to get the most out of your ZULUS digital night vision scope.


